
2 days before leaving and spending a lot of time figuring out my packing logistics, I figured I should probably also mount up the bicycle I was planning to take both on this trip, and my extended June trip. This is a generic China carbon CX frameset, configured with hydraulic disc brakes and ultra low gearing (44/30 + 10-42 cassette!) – the main difference between this and my Parlee is the thru-axle fork configuration. The 2×2 rack is transformable for both QR & Thru-axle, so I didn’t think too much of it.
One thing to address right away is ensuring I had a disc brake spacer to avoid compressing the pads together on accident. So tossed an extra spare one into my spare bag, this also adds a setup/tear down step.
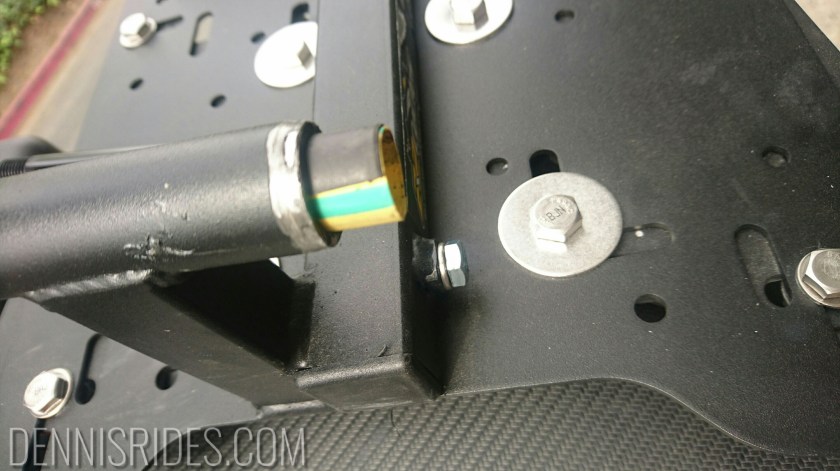
Next up, I went to attach the bike and realized my China fork’s dropout was too small to mate over the outside of the 2×2 rack.
The “shoulder” on the fork was approximately 1.5 mm too narrow to sit nicely on top of the rack.
So, like any good Motorcycle Farkler.. I broke out the Dremel and some sanding discs and ground down the rack “axle” so it would fit. Having a tight interface here is critical to avoid damage to the fork, given all the forces that are going to be put on it.
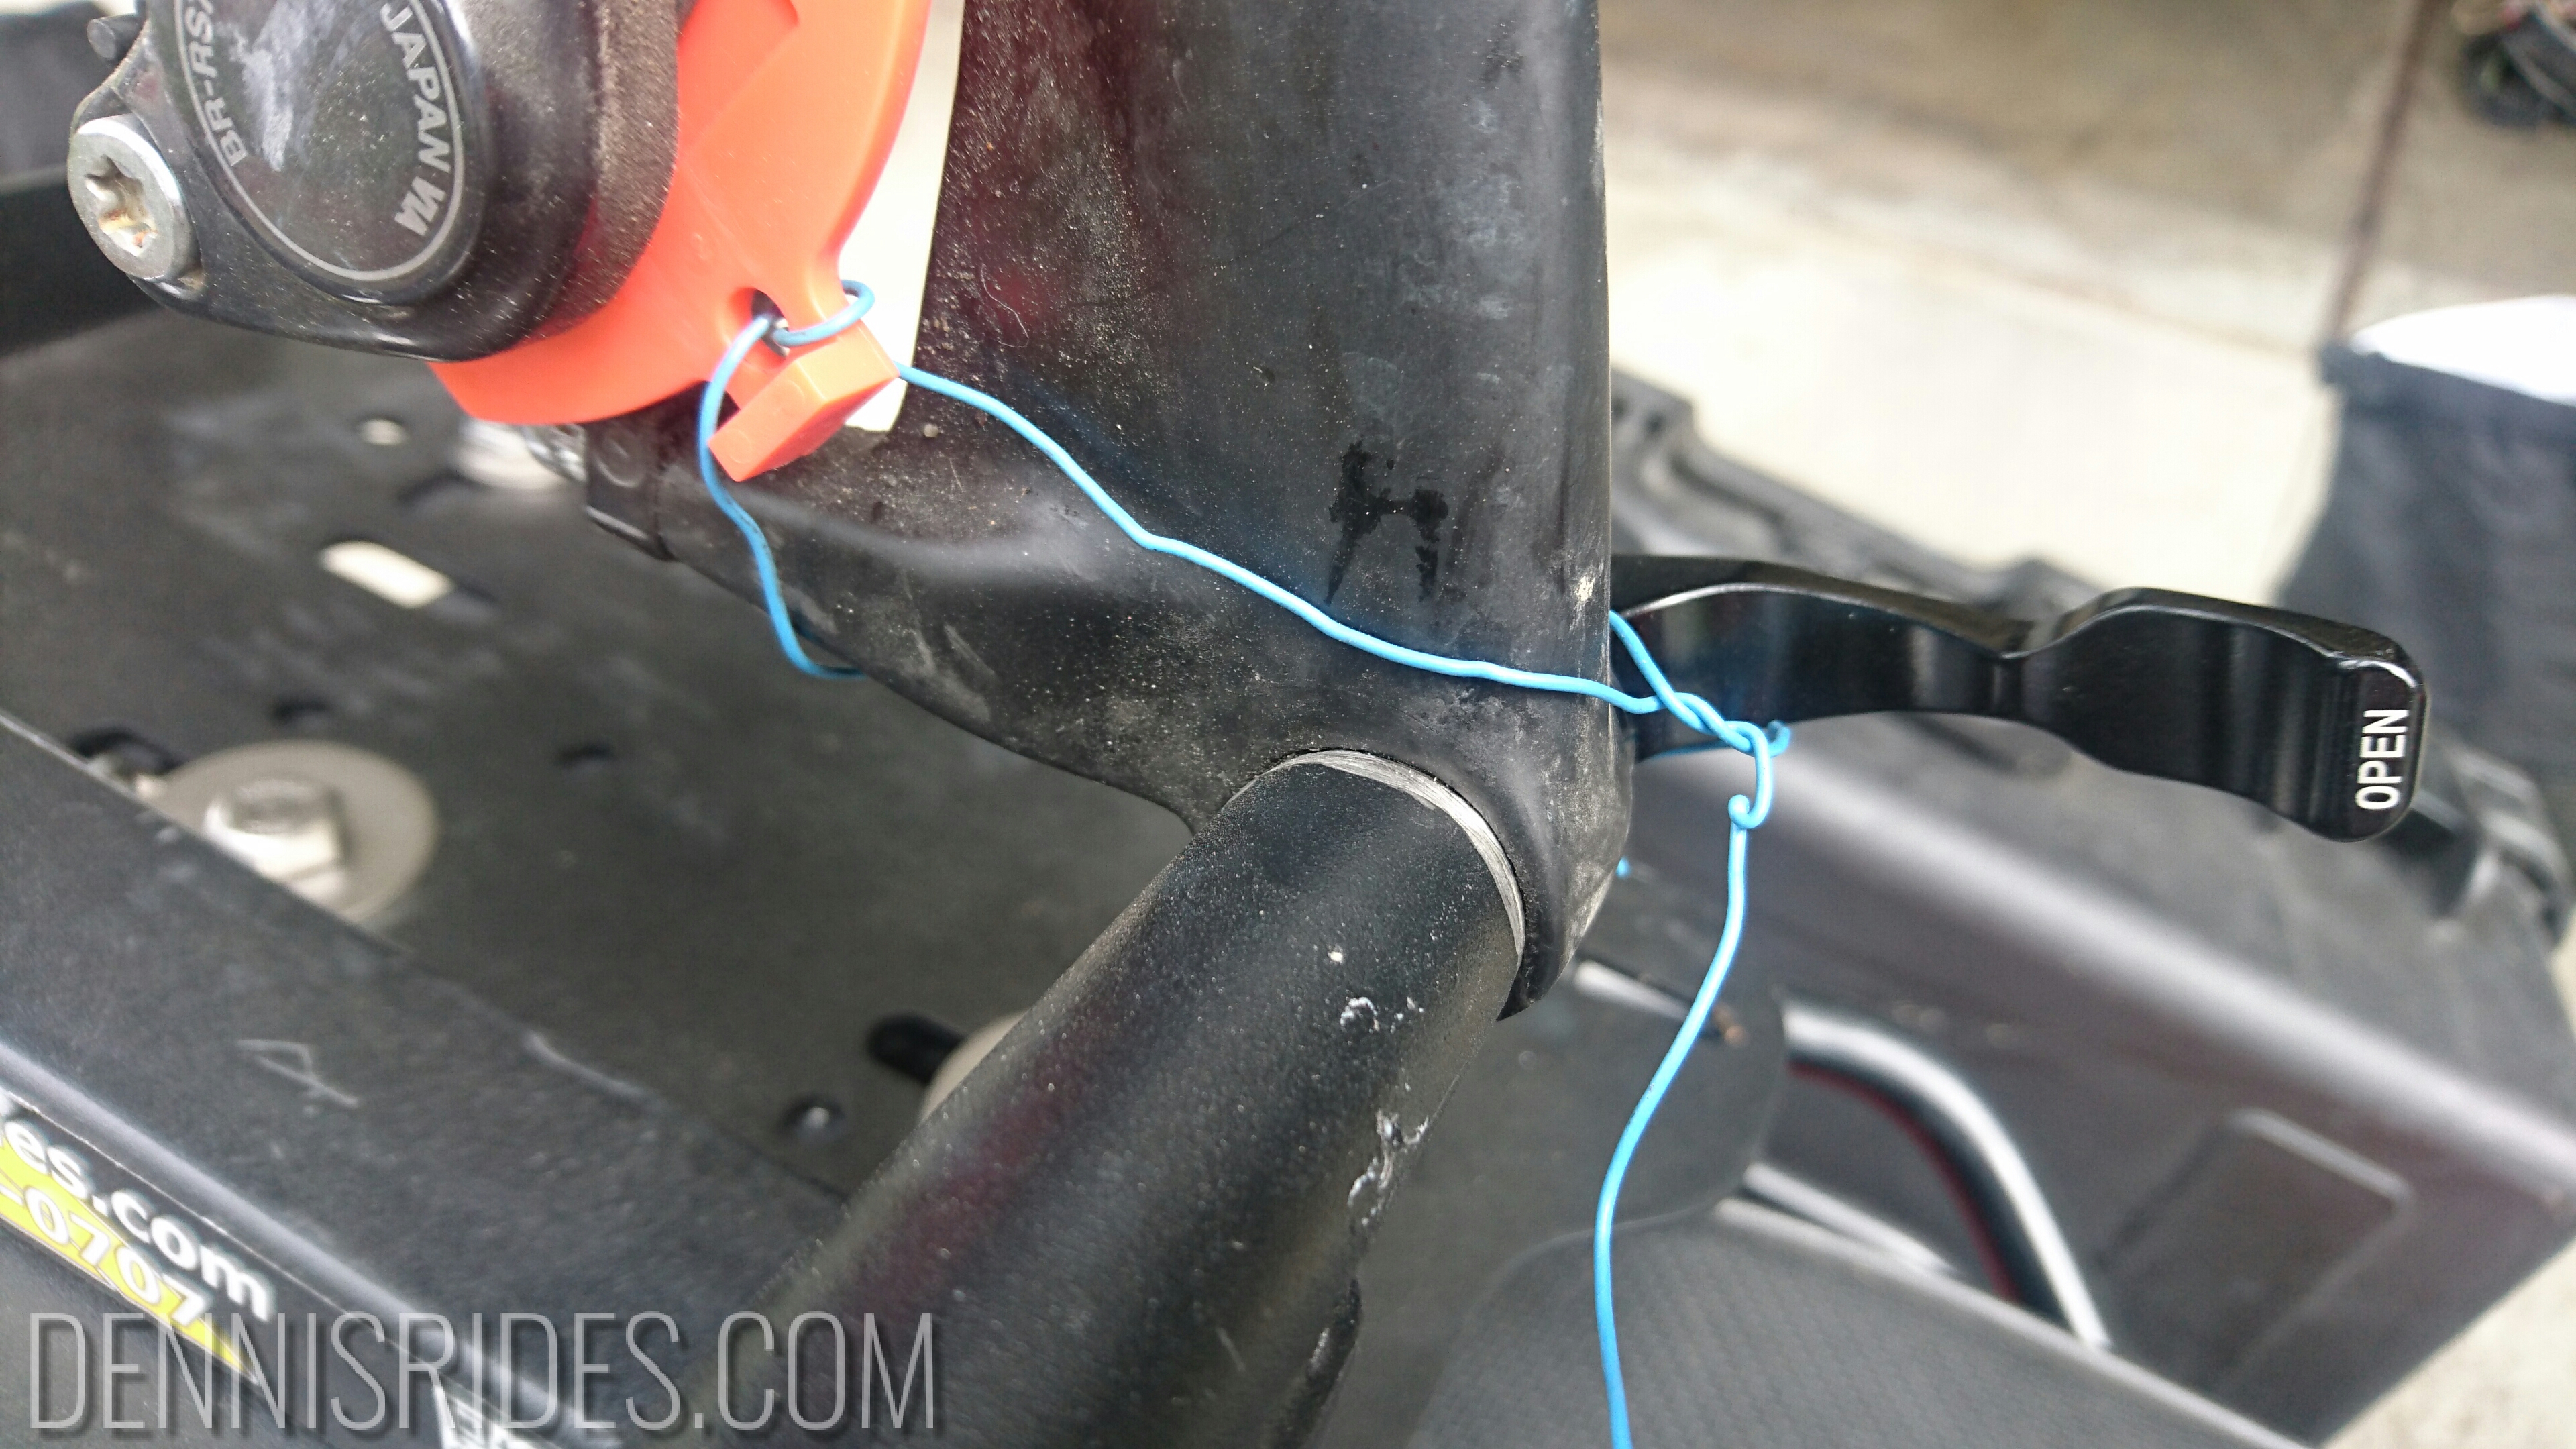
Once I had the fork mounted I gave it a good shake and noticed there was still a fair amount of movement between the rack & the fork dropout. Again, this is the major interface to the bike/rack, so any movement here is a bad thing.
More measuring and it appears my Chinese fork axle is ~14.6mm, and the inside diameter of the bike rack is ~16.6mm. The result is that the axle can “wobble” in the rack, rubbing the dropouts. Time for more Farkle creativity – a layer of heat shrink tubing over the axle, hit it with the heat gun, cooled and sliced off as a spacer.
This is still not ideal since it is made of rubber, but 48 hours to launch you use what ya got. For my longer trip I will replace with some aluminum can shim or stainless sheet.
Final challenge: Stages power meter lives on the same crank arm that secures the back end of the bicycle. For this I glued & zip tied a few layers of thick rubber as a spacer against the crank arm.
Done! Bicycle attached, 48 hours to go!


One thought on “Death Valley Preparation 2: Don’t I also need a bicycle?”