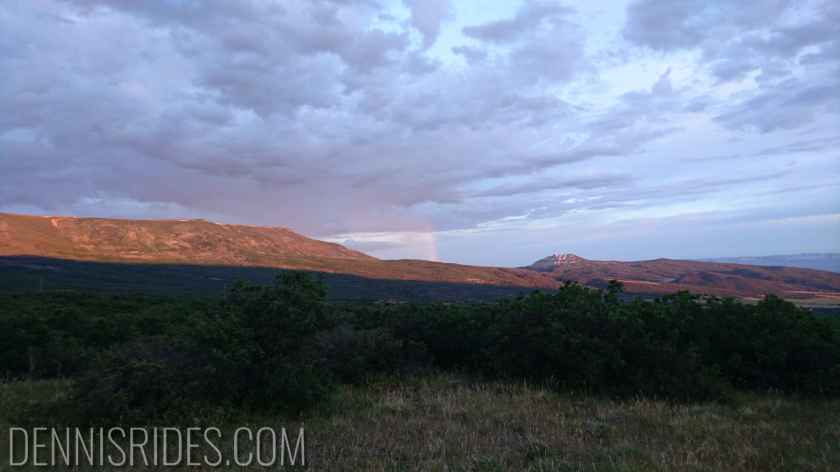
Another 400 mile motorcycle day, and the forecast looked for HOT HOT HOT, so I got out early.. and promptly froze coming up the Lewis & Clark scenic byway out of Salmon.
Stopping to put on my electric heated jacket when it dipped under 40.
The first 50 miles were more awesome canyon carving up to the pass to get into Montana.
Unfortunately as soon as I crossed the pass, I was engulfed in hazy smoke. Apparently all of Montana is on fire. The haze pretty much held on until I got into Washington.
Since I was pretty early and gained an hour crossing time zones, I stopped in Coeur d’alene and had breakfast.
Being a spectacle at breakfast!
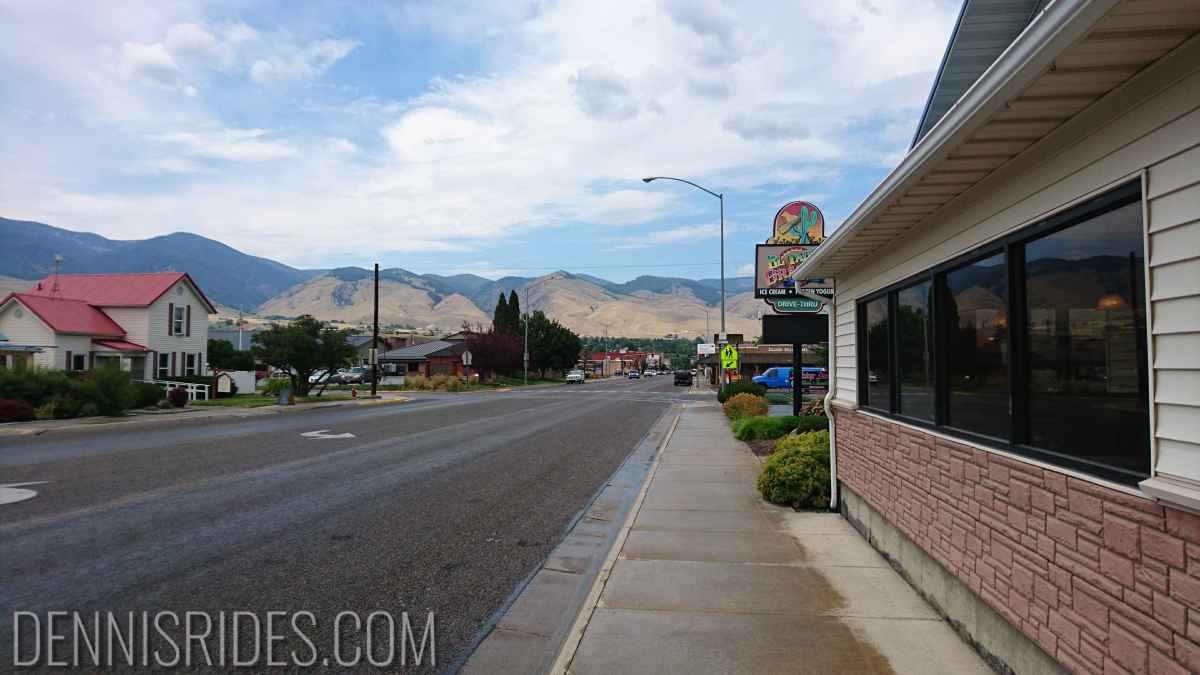
Another 50 miles of awful interstate and buffeting winds took me down into Spokane, where it got hotter.. and hotter.. and hotter.. up to 97F.
I had some dreams of getting in early enough to ride Mt Spokane on the same day, but the weather report convinced me otherwise.
Even better: My hotel has no water at the moment, because the city is doing some maintenance. Maybe I need to stay at classier hotels.
Tomorrow up early to beat the heat, there’s no convenient staging area, so I’ll be doing an extra hour each way of valley riding to get to the climb.
…back to Idaho.. the weather scene today was just not working out, when I checked the forecast last night it was going to be raining in Park City and 96 in Salmon. At some point you just go for it and plow on through.
I got up early to make sure my tire still had air in it (it did) and yeah, it was raining.. I sorta assumed it would only be raining on the mountain, and then it would dry out… nope.
340 miles of nope.. it rained and rained.. and rained some more. Through Utah and into the Boring Valley Of Doom Idaho (aka Interstate 15) all the way up Highway 20 and across Craters of the Moon and the Nuclear Waste Dump. I was also riding ride along the edge of the storm system, so it was super blustery and windy too, yuck.
Finally once I hit Challis (60 miles from Salmon) things dried out and I got to ride the best part in the dry – this stretch of road is twisty and fun and has great scenery as it meanders along the Salmon river. I almost went and rode it again after unloading my luggage and bicycle, but then the storm caught up and it started dumping here too.. so.. nope.
Late posting today due to aforementioned motorcycle excitement.
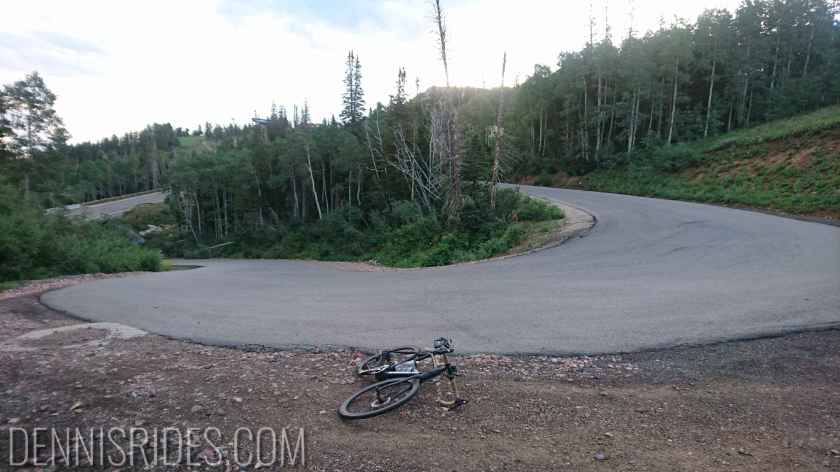
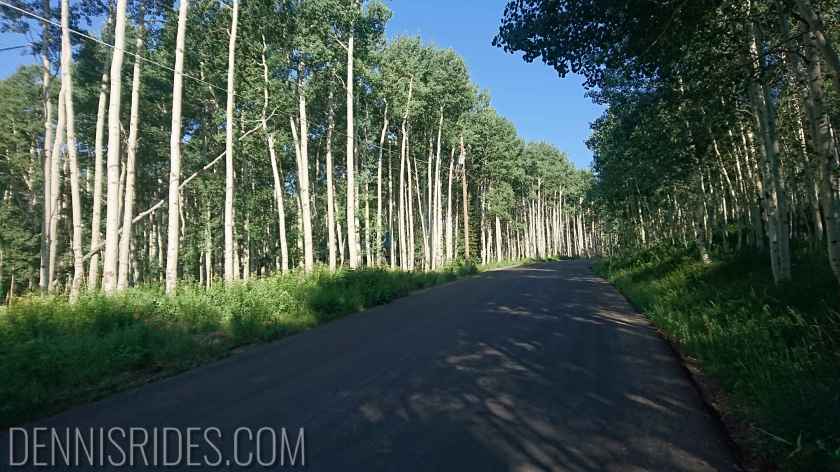
But to start with the bicycling – Big Cottonwood is another one of the top 50 climbs in the US, combined with Guardsman from Park City, it’s a pretty stiff climb – I had dreams of adding Little Cottonwood, but after the descent took what felt like forever, and pretty gusty tail (ie, headwind the way up) – I declined.
Once more up Guardsman, combining parts of 2 of the climbs I did last time, and then the long descent down the canyon.. it goes on and on!
Finally, after reaching the bottom, the long drag back up – this is a pretty heavily trafficed route, and seems very popular with cyclists too.
Resting at one of the many switchbacks up GuardsmanRocketing down the canyon, lots of exciting cliff formationsGetting closer to the bottomOn the way up, the very gradual climb up the canyoneScenic valley viewsThe turn off to the OTHER side of Guardsman.. where there’s another 3 miles of 10-15%View halfway up the other side of Guardsman
So after roughly 4+ hours, I returned back to the hotel and got breakfast. On my way back, I decided to check on the motorcycle annnnd… flat rear tire. Totally flat.
Now normally that’s just annoying. Given I was in a nice, flat, cool enclosed garage.. spending 2 hours to change a tube is not a huge deal.
But in this case, I couldn’t find what made it flat! If there was a nail or screw or something, fine. But.. no.. nothing. I even doused the whole thing with soapy water, and the only bubbles were coming up around the valve stem.
I don’t like mysterious mechanical things several thousand miles from home, so I phoned around and found a shop about 30 minutes away (on a Monday no less, which is a miracle in itself since most motorcycle shops are closed Mondays.)
So, I pumped the tire back up and determined it was losing about 3 PSI per 30 minutes, enough time to get over there.
They took it apart and….. they were stumped too!
Nothing in the tire, the puncture is on the tread side (not the rim strip.) and nothing.
The only odd thing is the tube does feel a bit squishy where the puncture was. Maybe manufacturing defect? Or something speared the tire and then left without leaving a trace?
Oh well. They put in my spare tube, put it back together, and I headed back.
Nothing exciting to report other than the thunderstorm pattern is setting up again, that may be the deciding factor tomorrow if I go for 2 climbs (7000ish feet of ascent) or 3 (11,000ish.)
Did some minor maintenance on the bicycle and motorcycle, rested up and worked on my plan home. Right now it is looking like:
Salmon, ID (no bicycling)
Mt Spokane, WA
Mt Hood, OR
Mt Shasta, CA
That would mean I did climbs in 8 states, which is pretty neat!
Guardsman Pass from Midway is in the top 20, and Empire is in the top 50 or so, but I’ve a hard time taking any climb seriously after doing Pike’s Peak! Combined it was around 6000 feet of ascent. [Strava activity here]
Both of these have sustained sections of 10% or greater – the granny gear finally got serious usage (excepting that top part of Pike’s, which was more oxygen related than grade related.) The lower part of Guardsman is relentless 10-15% for the first several miles, I saw 22% on one switchback. The average grade was deceptive as there were a few VERY short downhill sections.
I didn’t take many photographs, the mosquitos were out again and I have barely recovered from the last round of Colorado mosquitos – at least Colorado mosquitos didn’t seem to have whatever flesh eating bacteria lives in Wyoming mosquitos, they were more normal level of annoying instead of terrifying red welts the size of quarters.
Top of Empire before descending into Midway – all new pavement!Scenery was a nice change of pace from the desertTop of Guardsman pass
I’ll be doing parts of this route again on Monday – Empire and the top 2 miles of Guardsman, before descending Big Cottonwood and then climbing back up.
The question is if I will also attempt Little Cottonwood – this is another 4K in-n-out climb at the bottom of Big Cottonwood. That’ll make for a 10.5K day – I’ve purposefully been keeping the bike legs relatively short to ensure enough recovery time between bicycling & motorcycling – but I have no climb (or even destination yet) planned after Monday, so I might just go empty the tank if I’m feeling good.
Tomorrow is a maintenance day (bike, moto, laundry, etc) so I’ll have time to figure out what I’m doing next!
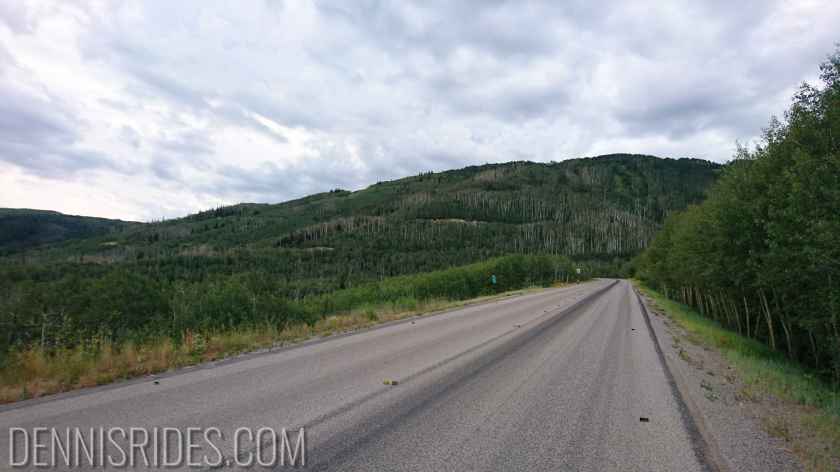
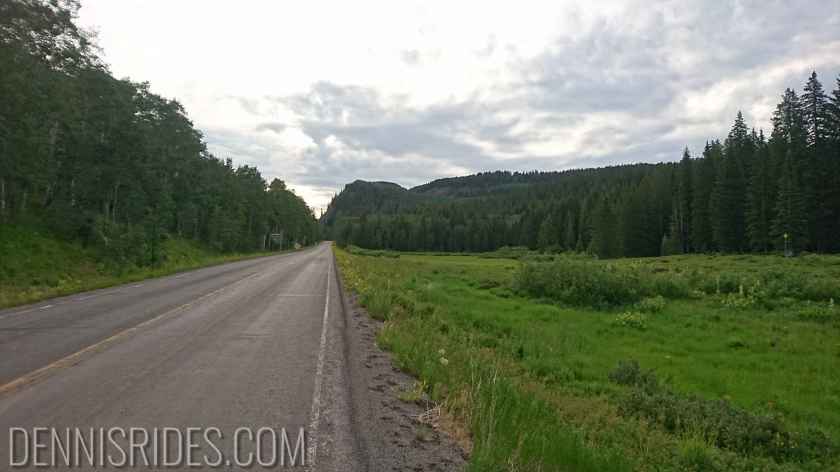
300 miles of motorcycling today through an area I have never been, so I broke out the trusty AAA paper map and looked for secondary highways marked “scenic.”
Conclusion: There weren’t any. Luckily it wasn’t too terrible – the first hour or so leaving Grand Junction was pretty dull, but then you get some big mountains in the distance. Another hour takes you further into Utah mountains, and the terrain gets more alpine-ish instead of craggy desert plateaus and rock formations.
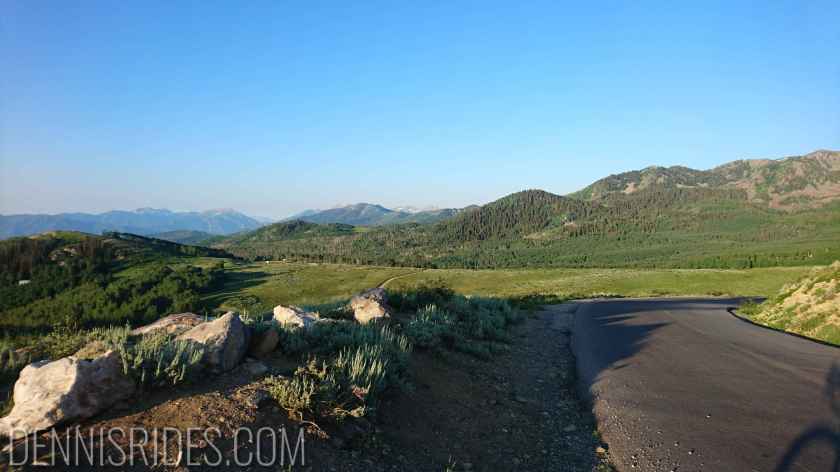
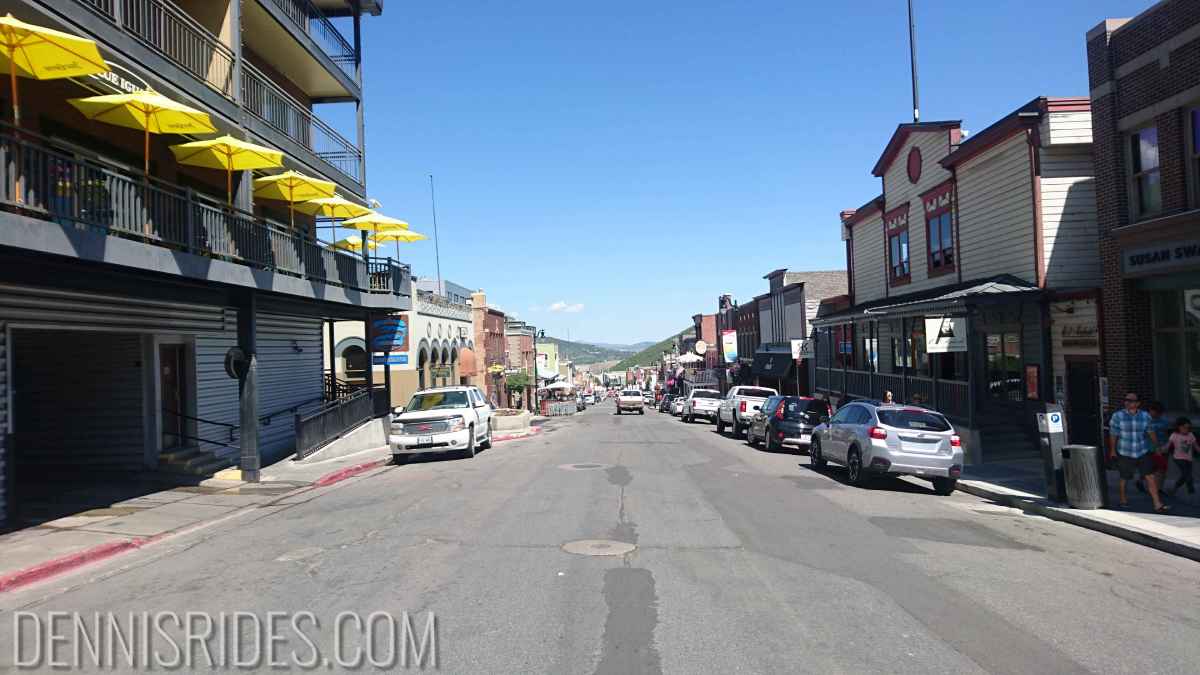
Past Provo, you pretty much ride straight up the mountainside to get into Park City.
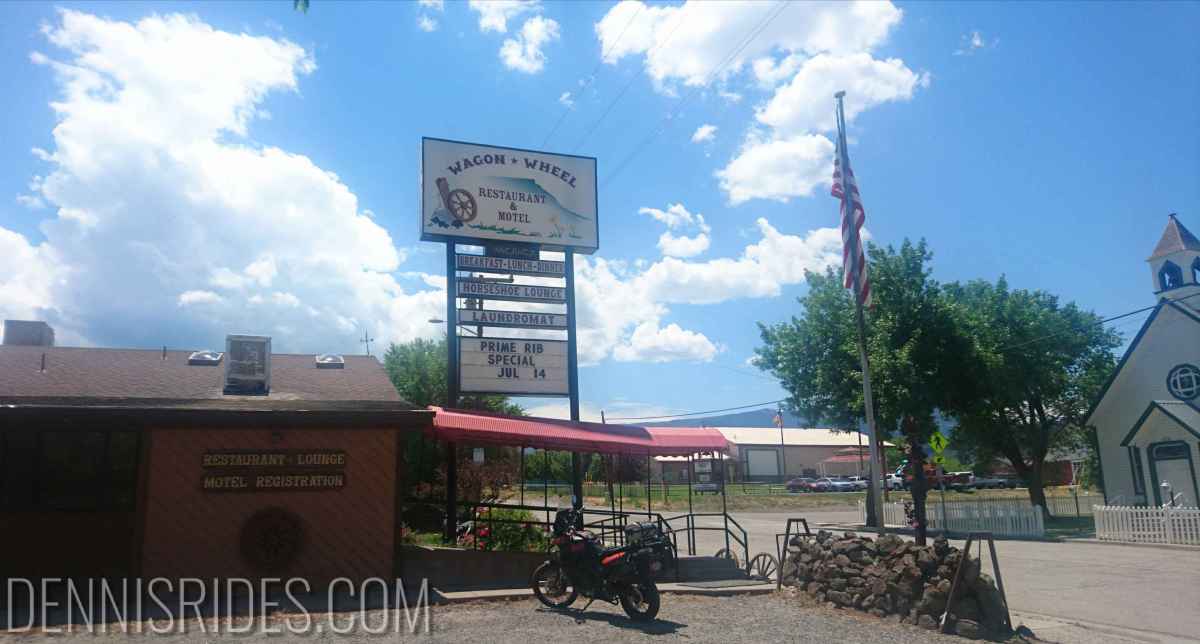
Park City’s weather forecast is looking good, so I am going to hang out a few days and bicycle Empire pass, Guardsman pass, and Big Cottonwood.
I had hoped to take the motorcycle-bicycle rig down into the valley and ride Little Cottonwood, but since I have chosen the logistically worst hotel in the world, I think it’s gonna stay parked:
It’s a condo hotel, so everything is enclosed. I’m on the 2nd floor (3rd from the garage.) The elevator is on the opposite end of both the garage and my room. So the 4 or 5 trips to unload/reload takes a good half an hour and a lot of walking! The final issue: The garage has a maximum height of 6 foot, 10 inches. When I measured my moto-bicycle rig, it was a “comfortable” 7 foot. So I have to dismantle it outside! And there’s no easy street parking, either. So yeah, I don’t think I’m doing any day trips with the motorcycle-bicycle rig while I’m at this hotel.
For the same reason, I’ll be riding up 2K and then down to the valley for the climbs, so that’ll make each day a 6-7K ascent, but I figure after Pike’s Peak, that should be easy!
This wasn’t on the big climb list, but on the “scenic optional route” list I had put together if the timing/weather/geography worked out.
It was definitely worth it – really epic scenery and a great route that winds up and over the terrain.
This time the sun was finally in my favor instead of riding directly into the sunrise.
The ride itself was very enjoyable, and I saw more cyclists than cars (at least early morning on a week day.)
Sun risingGettin’ closerTurn off to the Monument loopOne of the dozen switchbacks that levers you up the mountainFinally, good lighting!Along the top, you roll around the edge of the plateau before descending againWhere there’s a sign, there’s a photo
After the quasi-summit, the descent is fast and technical – I did not take photos since I felt myself spending too much time staring at the scenery and not paying attention to the switchbacks, so I settled on safely getting back to the valley.
Tomorrow is a long motorcycle day to Park City, UT. Starting in Park City means I’ll be doing some double climbs (front and backsides) but I decided I’d rather be cooler in Park City than roasting in the valleys.
Grand Mesa takes you up to one of the largest mesa’s in the US, to nearly 11,000 feet of elevation. [Strava Activity Here]
I wanted to make sure I got back before check-out so I could shower before heading to Grand Junction, so I left before dawn and rolled 2 miles down hill to the official start of the climb.
Sunrise
After the two 14ers (Pike’s & Evans) I was happy that I could just ride my own pace and not worry about going easy for the first half.
The climb is pretty consistent – never too steep and not too boring, and the scenery changes from desert, to alpine, to tundra meadows pretty quickly. The early lighting didn’t lend itself to great pictures, but the views with the desert plateaus and mountains were pretty cool.
Thunderstorm rainbow in the distanceSwitchbacks that take you up the side of the mesaLooking down.. hazy due to thunderstormsGrade eases up near the top, and mosquitos!“Falling Rock”Lakes == mosquito plateau
The worst part was the continued road construction – miles and miles of fresh chip seal turned this into a gravel ride. Luckily the descent is not particularly technical, so I didn’t worry much about it.
3/4 down I got caught up in one way traffic control again, waiting for an escort vehicle. When they finally arrived, they asked if I’d like my bike carried down instead of riding and I was totally fine with that – not due to the risk, but due to all the dirt I’d have to eat following a bunch of cars on gravel!
Made it back to the hotel with plenty of time to shower and pack up, and headed to Grand Junction.. and promptly got stuck in another one-way traffic control.. for 30+ minutes, in 95 degree heat. This was not pleasant, I felt like my motorcycle gear was filling up with sweat from the bottom up.
Once finally released, I made my way to Grand Junction and stopped at a cafe for a gallon of iced coffee to recover from that huge, 1 hour motorcycle ride!
Tomorrow is a non-climbing day, I’ll be getting up early again to do the Colorado National Monument loop (44 miles, 3400 ascent.)
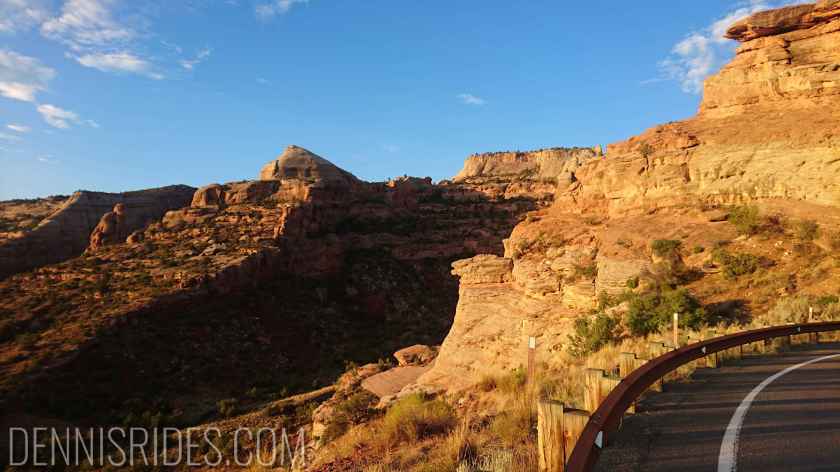
Starting to trim off climbs that were on my list, Ouray was looking rained out, so I headed to the desert – Mesa, CO.
Since today was forecast to be a hot one, I wanted to make it into town before noon, which meant 300+ miles of all backroads wouldn’t work, but I sure didn’t want to superslab it either. I split the difference – the first half I took Highway 24, which was empty and very few cars and great views of Mount Elbert. It was also really cold! I had to pull over and put on my heated jacket after an hour or two of 42 degrees.
24 joins up with the main east west highway, Highway 70. Unfortunately within 5 miles of the junction, CODOT was out setting up for chip seal work, which resulted in a FORTY FIVE MINUTE delay, luckily it was not hot yet or that would have super sucked.
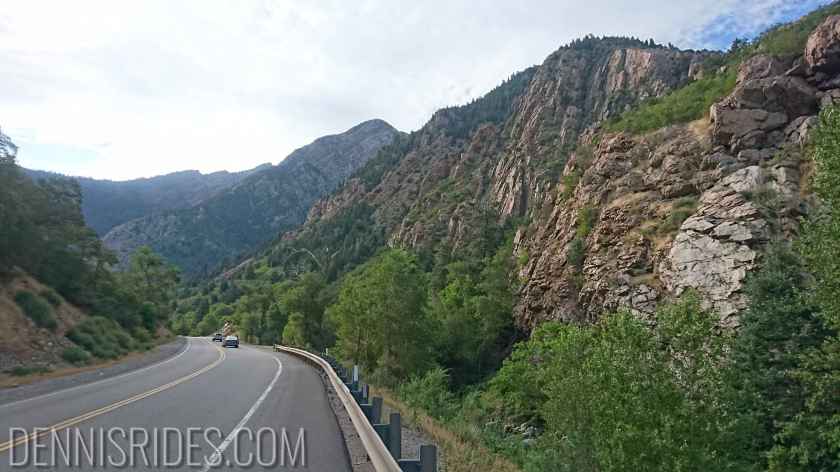
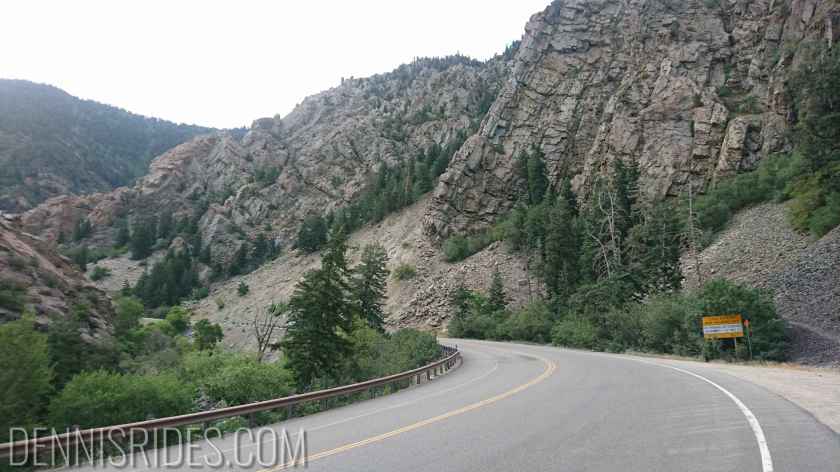
Once hopping on Highway 70, you drop straight down into the desert, but it’s actually pretty scenic – Glenwood Canyon in particular is a marvel of traffic engineering – it sort of feels like you’re riding through a mini-grand canyon via overpasses, tunnels and bridges.
Once I reached the Grand Mesa Scenic Byway turn-off.. more construction. I hope this doesn’t screw up my bike ride tomorrow.
The weather looks reasonable to climb Grand Mesa, this is the 24th most difficult climb in the US, with roughly 5700 feet of ascent, judging by the views coming into town, it should be pretty epic.
Right after the climb I plan to head to Grand Junction and do the Colorado National Monument loop – not really a climb, but supposed to be amazing scenery.
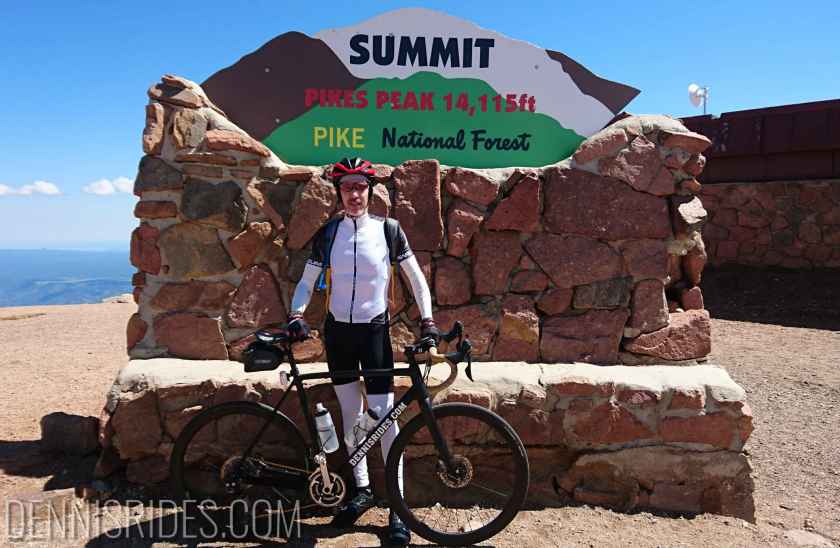
Wow, this was hard.. really really hard, steep and relentless, possibly the most difficult (subjectively) climb I’ve ever done. [Strava Activity Here]
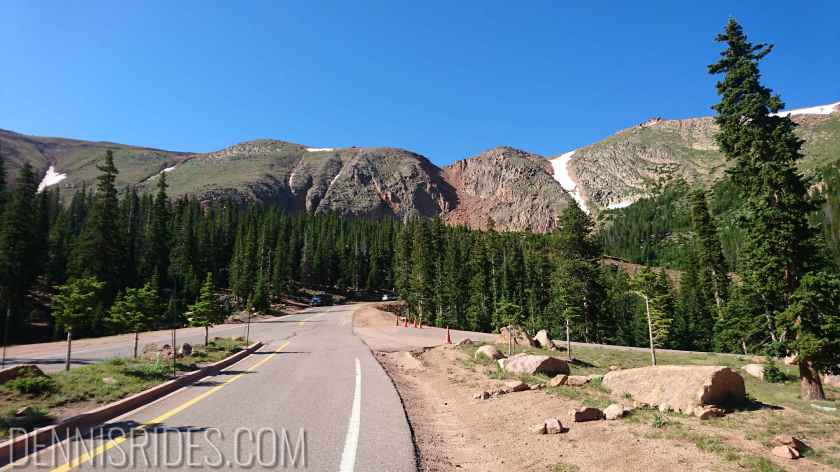
I got out early and headed up the highway, and it pretty much goes straight to 6-8% grade right after leaving town. Zero shoulder and cars blowing by at freeway speeds, not fun.
After a bit of this you make a left and head up on the Pike’s peak road, and things get even more serious with 10% grade that just goes straight up. Just getting to the top of this section took about an hour.
I had left early figuring to beat the tourist traffic.. except in typical “zero research fashion” it turns out the road is only open at 7:30.. and they are quite serious about it, it’s a whole production: van loads of rangers and volunteers blanketing the mountain, 2 mobile EMT trucks(!), massive gates and toll structure.
I’m dumb
So I had to sit around for an hour until the road opened, it was not particularly cold or windy, so it was ok.
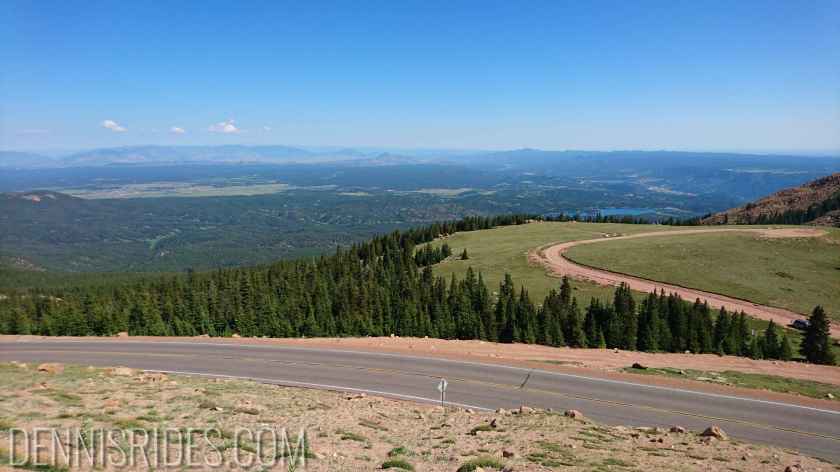
From about 8K to about 10K, things were ok, the typical alpine tree tunnels.. at 10K I started feeling not so great, which is odd since for both Trail Ridge and Mt Evans I didn’t really feel poorly until 12K.
Looking out from the toll booth
I can only assume the combination of the much steeper grades and it being significantly warmer (and no wind) were making things more difficult.
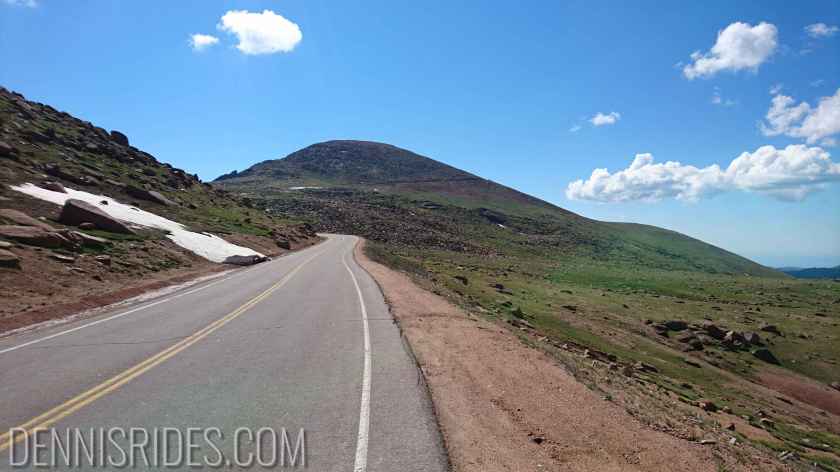
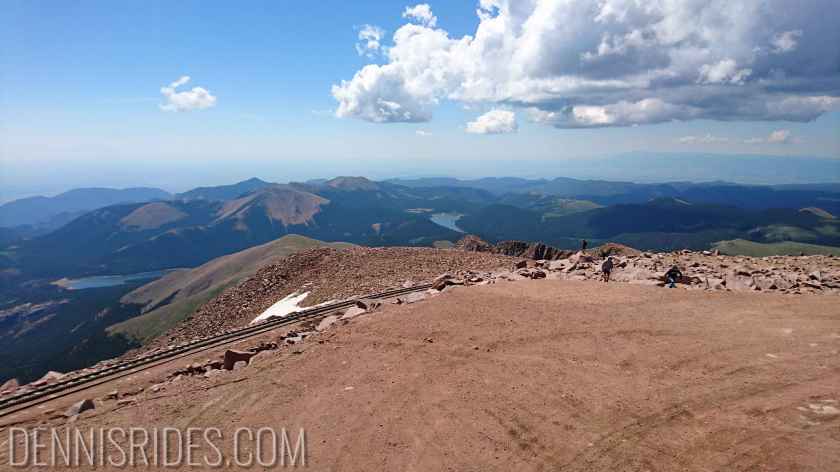
I saw no big foot or critters, I think they all know 7:30 means “RUN”About mid-way is a lake and the grades ease up a bit.. before the final brutal ascentSwitchback downSwitchback upAfter the “plateau” area.. it’s just relentless 10-15% grades
From 13K on up.. it was a death march.. just put it in the granny gear (helllo!) and tried to keep the pedals turning. The quantity of pictures declined significantly from here on out.
Pop tart break10% foreverAnother view from 13K+
After what felt like forever, I made it to the summit and received many high-fives and fist bumps!
The cog rail is probably easier than bicyclingAnother view peeking over the topNerd
Whew, well, after Pike’s, nothing is quite as difficult on the list (I hope!)
My current plan was to head to Ouray, CO and ride Red Mountain Pass, but it looks like they are gonna be blasted out by thunderstorms over the next few days.
I had thought some of the valley rides I had on the list were not going to happen due to heat, but maybe they’re back on if the mountains are too washed out!
We’ll see what tomorrow brings – either way, it is time to start heading west, so probably a 400+ mile motorcycle day.